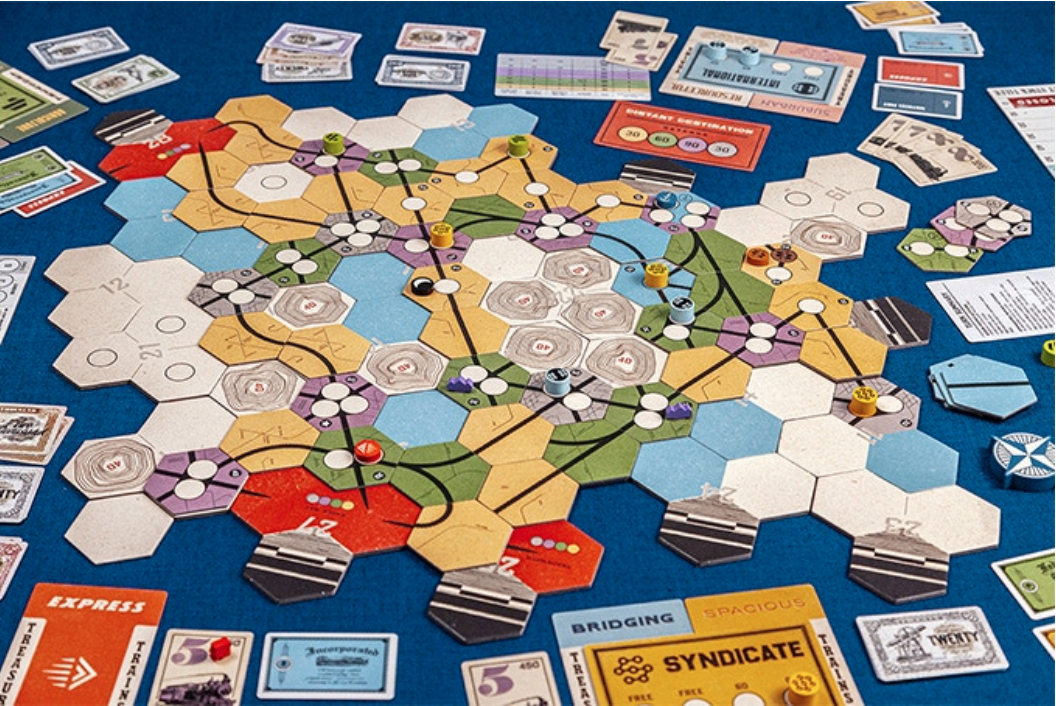
Welcome to another Game Night Guide! Last time, we have talked about digital battle maps, but what about the real ones?
So – you want to make a map for your roommates game. Trouble is that Dwarven Forge is outside of your price range and you don’t have a 3-D printer. What else can you do?
We’ve got you covered – we are going to go over how to build your own battle maps, no matter your vision or budget.
The Tools for the Job
Before you get started, you are absolutely want to pick up these items. The upside is that the dollar store is going to be your savior with all these items.
The only thing you will need to decide when doing your construction is the type of foam you will be using. Project foam will be good for thin landscapes, but if you want to go full 3-D models, rigid insulation is going to be your best. You can pick some up from your local Rona or Home Depot.
The materials you should have on hand for model making projects are:
- Glue
- Cutting board
- Bristol board
- Scissors
- Precision knife
- Foam (Rigid insulation, project foam, etc.)
- Paint
- Pencil crayons
- Markers
- Popsicle sticks
Foaming at the Mouth
Foam is your best friend. Foam is the key to creating the main tiles you will be using on your map.
Start by building some outlines with your bristol board. Outline the different shapes you are going to be using, then mark them out on the foam. Slice up the foam based on the outlines, and boom – you are going to have a beautiful etching from the foam.
The next part is the trickiest. Depending on the thickness of the foam, you are going to want to shave and shape the foam to your desired model. Make sure to plan out how you are going to shave off the shape as best you can, making marks with pencil to note the different spots where you either want to shave back the model or to make special carvings. Once you get to actually doing, take your time, and don’t rush anything.
If you want to add any wood accents, such as paneling or door and window outlining, use up them popsicle sticks! They will offer a new look and texture to really bring the model to life.
Final Touch’s
The last two things – making the grid and colour. If you are planning on carving the grid into the map, then do that before you add the colour. If you are planning on marking the grid with marker, then do it after adding the colour.
For making the grid, mark out inch squares by creating inch nicks on the length and width of the model. Then, take a ruler and run either the blade or marker from one side of the model to the other. Continue doing this for all the nicks and boom – you have a grid!
For adding colour, different forms of foam can respond in odd ways depending on if you use paint, markers, or pencil crayons. Make sure to test what works best on your specific brand of foam. Take a piece of foam that was cut off during the carving phase, and try different colouring methods to see what gives you your desired effect!
Once you figure out which method works best for you, go nuts! Create your dreams! Paint, draw, and colour in to your hearts delight!
Once you do that – you’re finished! You have created a beautiful landscape ready to be shown to your roommates and friends!
Thank you for checking out this weeks The Game Night Guide, keep an eye out for more coming your way!
Get all your board game news at The Bag of Loot!
Get all your board game needs at Three Kings Loot! www.threekingsloot.com


